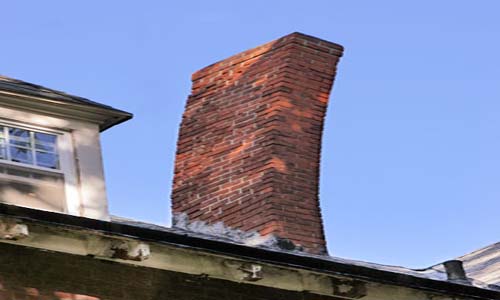
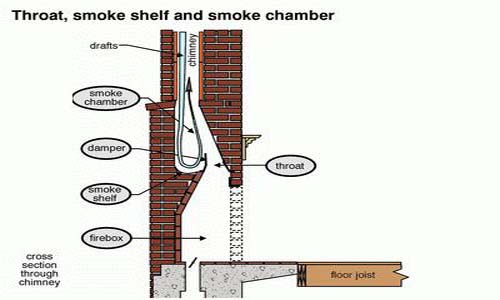
Installing a Chimney Liner
March 18, 2015 in Installing a Chimney Liner
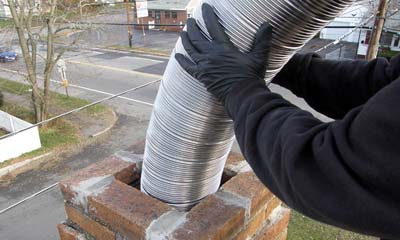
If you want to try to install your own chimney liner, you need to purchase the coiled liner (such as the one pictured to the left) and measure it to the length of your chimney. You will make a mark at the correct length and cut off the extra coil. Make sure you have work gloves on before you start as this is very sharp and you can easily cut yourself. Cut the liner the length of your chimney so it reaches the cap and goes all the way to the bottom so you have some extra room. Use tin snips to cut the line you have drawn around the liner.
Next, you
have to insulate the chimney
liner which is a nationwide
regulation.
The insulation will keep the
liner warmer and reduce creosote
buildup.
According to US regulation, the
insulation must be a half inch
thick and it is called profoil
liner insulation.
You will use foil tape to
hold the insulation in place on
your liner.
Finally,
you will cover the insulation
with mesh to keep it in place
and prevent tearing during the
installation into your chimney.
Get on your roof and bend
the liner to get it down into
your chimney. It
may get stuck on the damper on
the way down, in which case, you
will need to go from the bottom
and pull it the rest of the way
through your chimney.
If you are attaching the
bottom to a stove, you would do
this part next.
If not, the bottom is
complete and you need to finish
the installation on your roof by
screwing the top plate and the
cap on.
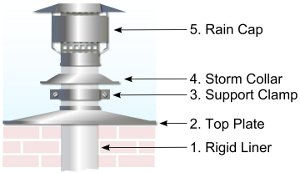 To
install the top plate and
chimney cap, drill four holes in
the corner of your chimney using
a masonry bit drill and match
the holes into the top plate.
Apply a line of silicon
to tightly seal it into place
and finally screw the top plate
into place on the base of the
chimney top.
You also want to apply silicon
between the top of your liner to
the top of your top plate, where
the two intersect to create a
tight seal and prevent drafting.
The silicon will also
keep any insects or rain out of
your cap.
This does not need to look
perfect because the cap will
cover this section.
The last step is to slide
and clamp the chimney cap onto
the liner.
Installation is complete!
To
install the top plate and
chimney cap, drill four holes in
the corner of your chimney using
a masonry bit drill and match
the holes into the top plate.
Apply a line of silicon
to tightly seal it into place
and finally screw the top plate
into place on the base of the
chimney top.
You also want to apply silicon
between the top of your liner to
the top of your top plate, where
the two intersect to create a
tight seal and prevent drafting.
The silicon will also
keep any insects or rain out of
your cap.
This does not need to look
perfect because the cap will
cover this section.
The last step is to slide
and clamp the chimney cap onto
the liner.
Installation is complete!